
Installing EVE NG for virtual labbing
There's no better teacher than experience, and there's no better way to learn how to work in IT than to get your hands dirty. Sadly, IT is very expensive, especially in modern times where it seems that prices for PC components can skyrocket at any time, but with the power of virtualization we can gain experience without having to spend an arm or a leg for enterprise equipment.
1/26/2026
Its not practical at all to wait until you get a job in IT to start gaining experience with equipment. Not only is it dangerous to leave infrastructure in the hands of an inexperienced individual, but it's often a requirement to already have experience in order to get that job.
I can already hear you: "How can I gain experience in(lets just say for example) FortiGate devices, if I don't land a job that handles Fortinet equipment?" and also the "Certifications often expect you to have some sort of experience as well, so how do we gain that experience?"
Simple: We create a controlled virtual environment and practice there!
To virtualize you'll need somewhat decent hardware, although, modern components are already capable. The most important bit to acknowledge is the following:
CPU needs to support virtualization. Ensure it has enough logical processors to power your desired function in virtual machines (VMs) and have enough for the computer itself (or what's referred to as a host).
Enough RAM for both the VMs and the host machine.
Enough storage for the VMs.
You can get much more complicated than this but for our use, just keep this in mind: Assign only as many resources as needed. If the VM works well with just 1 virtual CPU (vCPU) and 1GBs of RAM, assign only that. Assigning too many resources will cause problems such as the host machine crashing or behaving erratically.
Step zero: The set up
What do we want? What do we need?
The first step for virtualizing basically anything is to jump into your computer's BIOS and enable the virtualization feature.
The location for this varies by hardware, so you might need to do some research for your own case, however its usually very straightforward:
BIOS > Advanced > CPU Configuration > Enable virtualization > Save & Reboot
Step 1: Getting the software
Which tools are we using?
Now that virtualization is enabled in the BIOS, the next step is to download our virtualization software, called a hypervisor. My choice is going to be VMWare Workstation Pro, for Mac users it's called VMWare Fusion.
Don't let the "Pro" confuse you; it's free for personal use.
Only use official download links, always confirm your sources before trusting a random person on the internet:
Please note that as of the time of writing, you have to create an account with Broadcom to download.
The installation is straightforward:
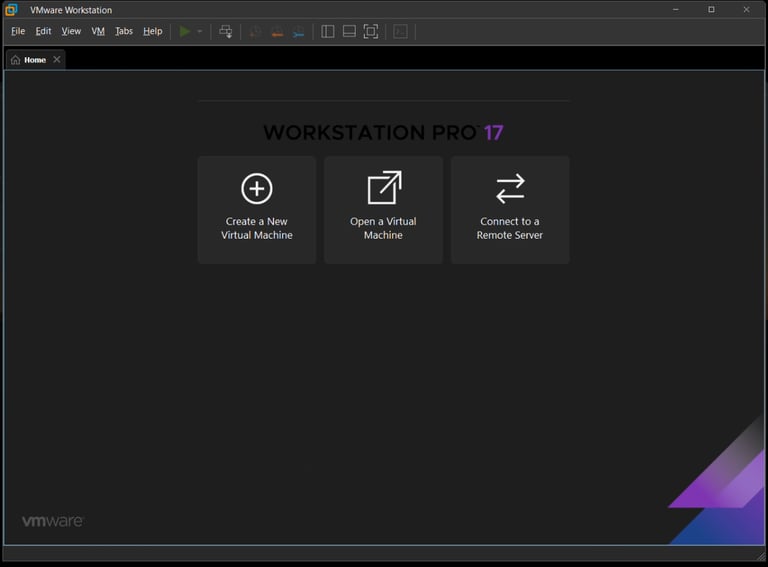
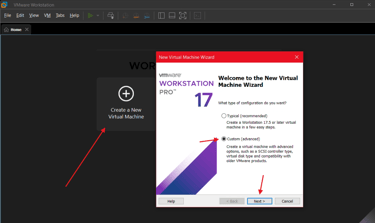
Open the installer, agree to the ToS, leave everything as default and click Next until you get the Install prompt. Click on Install and once the program finished installing open it up and you'll be greeted with a screen that (probably) looks like this:
Now we direct our attention to EVE NG, which is the platform that will actually create the environment for our play ground (but let's call it a lab, management likes that word better).
You can either install on a VM using a tool such as VMWare like I am here, or install it on a stand-alone computer so it acts as the OS, or as the cool kids call it: a bare-metal hypervisor. This is in fact the preferred method for deploying EVE NG because of the load that nested virtualization puts on systems, but not everyone has a spare computer with capable hardware just lying around, so this guide opts for a hosted hypervisor.
To clarify, we use VMWare to create a VM, to which we will assign resources and install EVE NG. Once deployed and inside the EVE NG environment we deploy nodes that also need resources which will be provided by EVE NG; so in simple terms we are creating a nested virtualization environment: a virtual machine within a virtual machine. This is why resource allocation is important. If your computer can't keep with the load it'll undoubtedly have some issues when labbing.
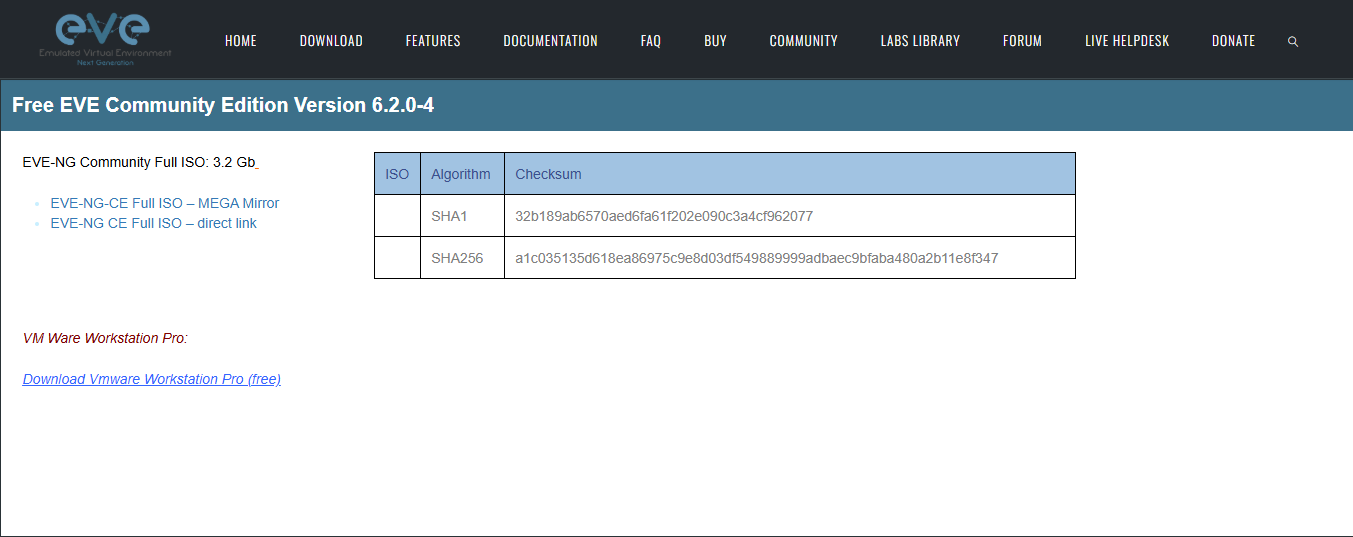
Go to the official EVE NG website and download the free Community Edition. Again, always confirm the website and download links to ensure safety:
I like to organize my VM files into a specific folder in a specific location, lets just say for example
F:\VMs\Images\eve-ce-prod-6.2.0-4-full
With that done, we can finally start creating the VM that will house our EVE NG play gr-erm... lab.
One more detail about EVE NG: You're gonna need access to manufacturer VM images called KVM images.
What are these?
In basic terms, a Kernel-based Virtual Image (KVM) is a virtual disk file that contains OS and system data.
How to get these?
Some companies, like Fortinet, provide the image with a limited license for free when you create an account; others, like Cisco, you're gonna have to pay for. You could also sail the high seas but I don't think the risks are worth it, especially when you can get an official image for free.
Step 2: The house that VMWare built
Creating the environment
EVE NG is powerful software, and your lab environment's efficiency is directly tied to the resources you can assign it and the hardware that is running it. The minimum requirements are:
Processor capable of virtualization with at least 8 cores
At least 8GBs RAM
At least 50GB storage
I would recommend at least 100GBs because the KVM images are not small at all, and 50GBs can be gobbled up pretty quickly.
I.
Start out with clicking on Create New Virtual Machine, selecting Custom (advanced) and hitting Next


II.
Leave settings as default and hit Next

III.
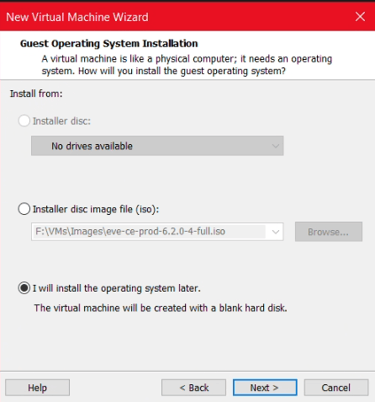
Select "I will install the operating system later" and hit Next
IV.
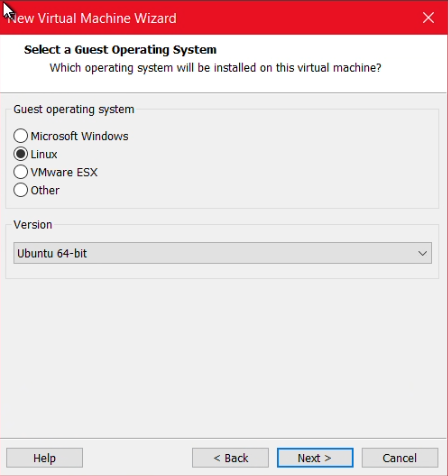
Select Linux and in Version select Ubuntu 64-bit
V.
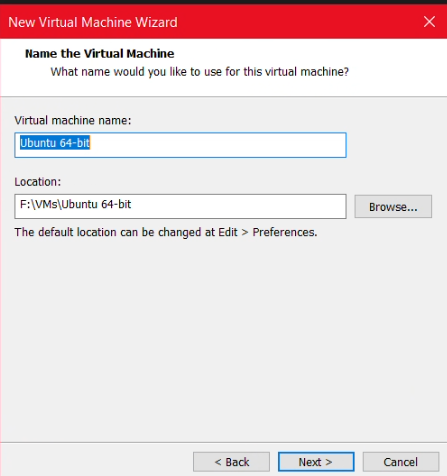
Give it a name a select a location where you'd like all the files to go
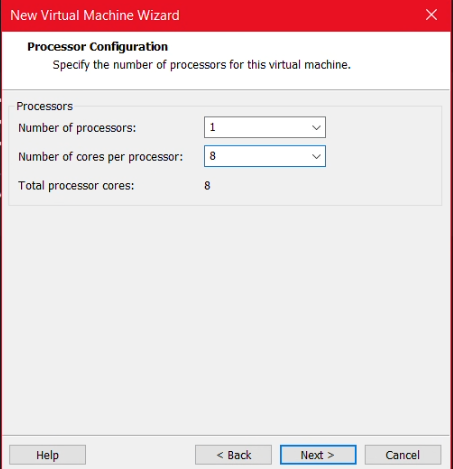
VI.
Assign vCPU amount
NOTE: Number of processors indicate how many actual CPUs the VM will think it has. Be careful and read the system requirements for correct resource allocation and license limitations.
Because this is a small lab for personal use I prefer to assign # of cores to one processor. No need to overcomplicate.
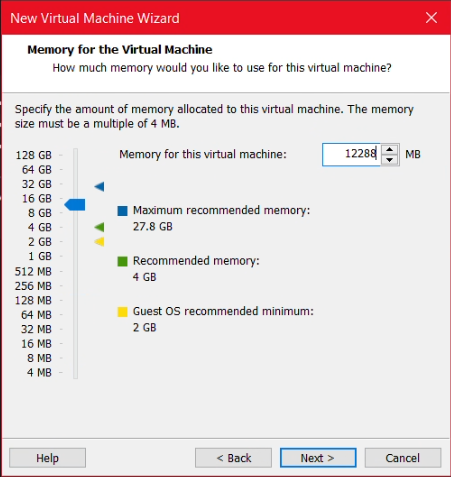
VII.
Assign RAM
Be mindful and assign enough for EVE NG to allocate to nodes, but not so much that the host machine will be starved.
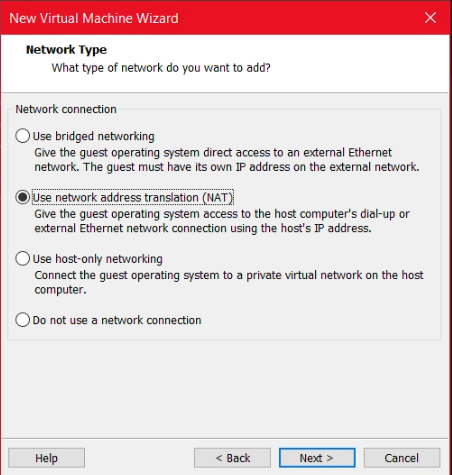
VIII.
You can choose either Bridged or NAT. Do you want your lab to use the same address as other devices in your network? Choose Bridged. Do you want create a separation between your network and your lab? Choose NAT. I will leave that choice to you.
This is an oversimplification, you can read the documentation for more information on this stage.
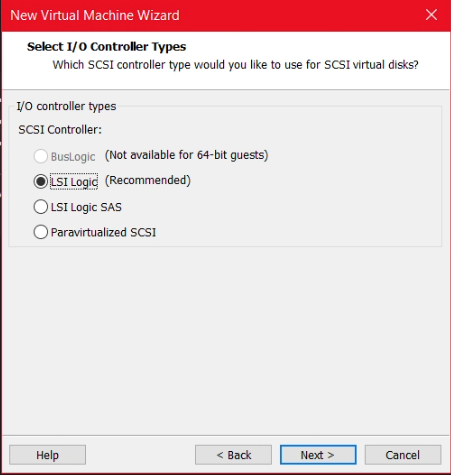
IX.
You can leave I/O Controller types as Default
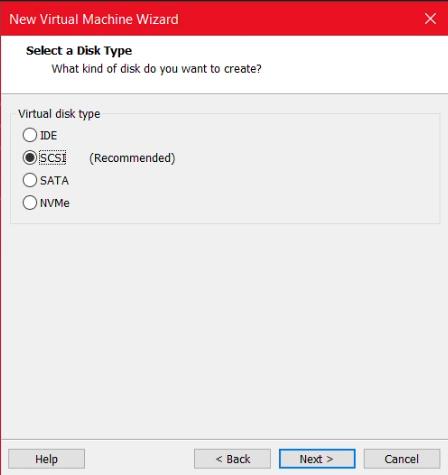
X.
Disk type can also be left as Recommended default
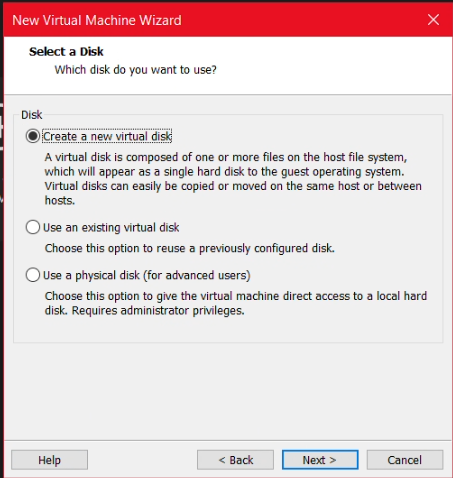
XI.
Select Create new virtual disk
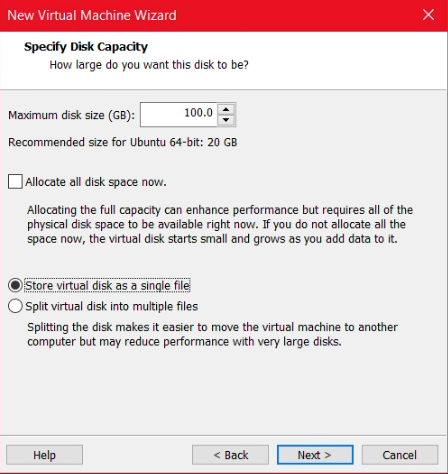
XII.
Assign storage amount and select "Store virtual disk as a single file".
EVE NG will recommend you give 200GBs but I find that a bit excessive for our use case
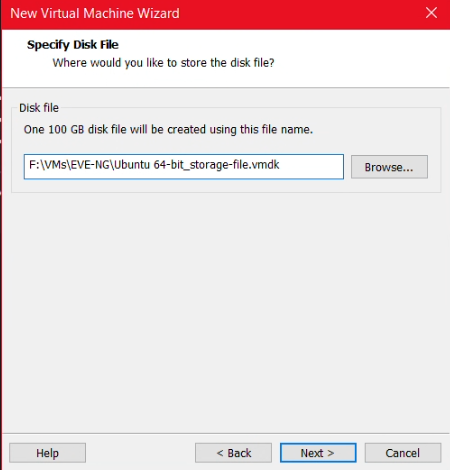
XIII.
I like to select Browse and specify where I want my disk file to go, as well as change the name of the file so its visually easier to identify
XIV.
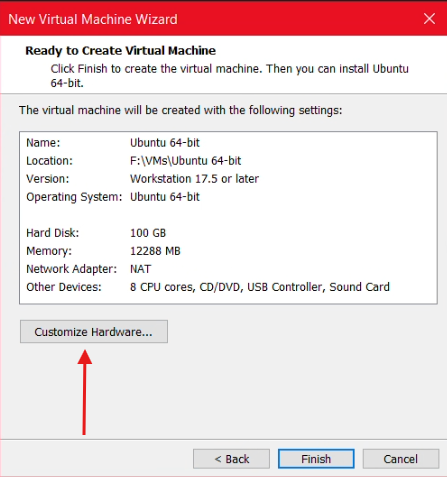
Before concluding, click on Customize Hardware
XV.
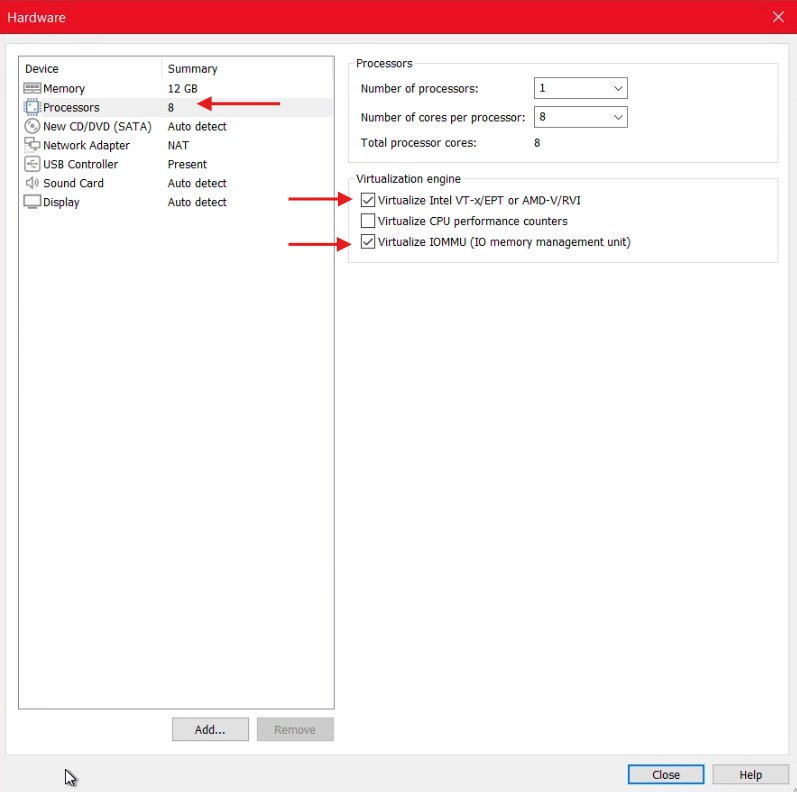
Click on Processors and enable the 2 shown options in the image.


XVI.
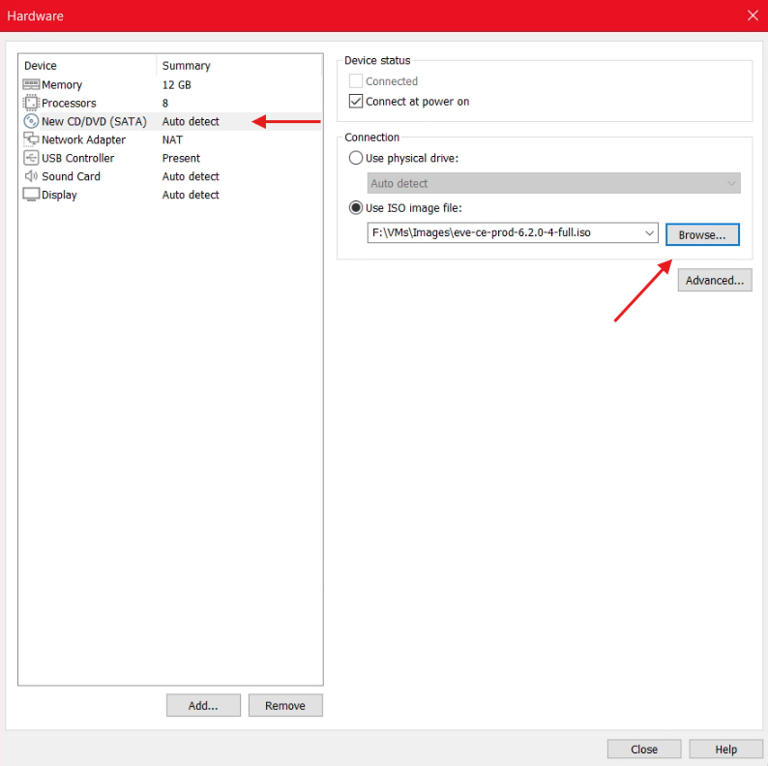
On that same page, click on CD/DVD, select on "Use ISO image file" and navigate to where you downloaded the EVE NG installer file. Hit Close.
XVII.
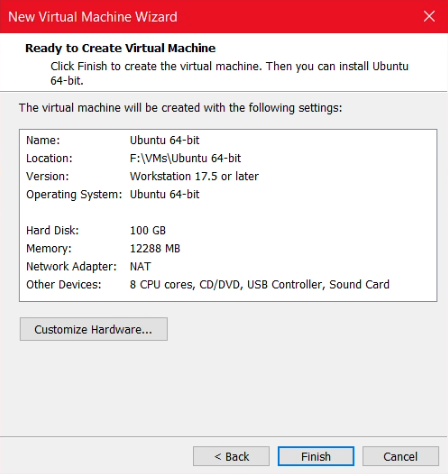
Confirm the configuration is correct and hit Finish.
Congrats! You just created a virtual machine. Now the REAL fun begins.
Step 3: Welcome, Guest (OS)
Installing the Operating System and initial setup
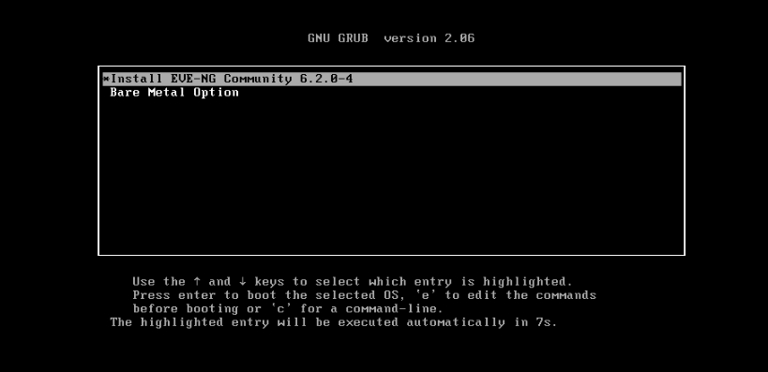
I.
Click inside the VM window and hit Enter. You can also just let the timer expire, which will select whichever option is highlighted at that moment.
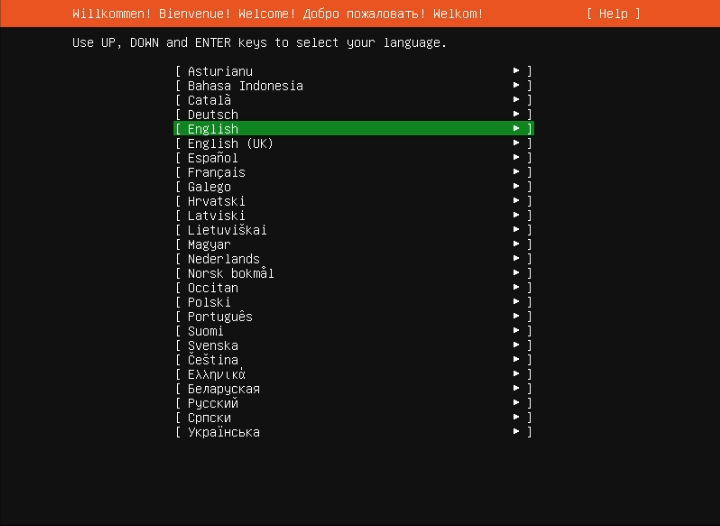
II.
Select your desired language
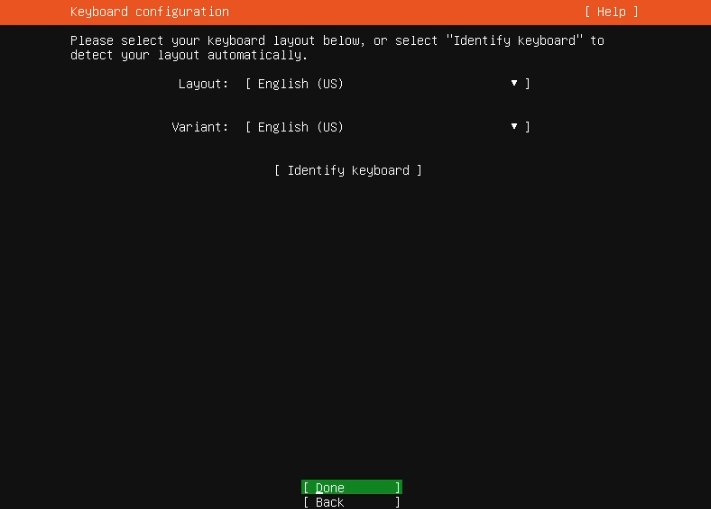
III.
Select keyboard language
IV.
Select Continue and hit Enter. This part always takes a while.

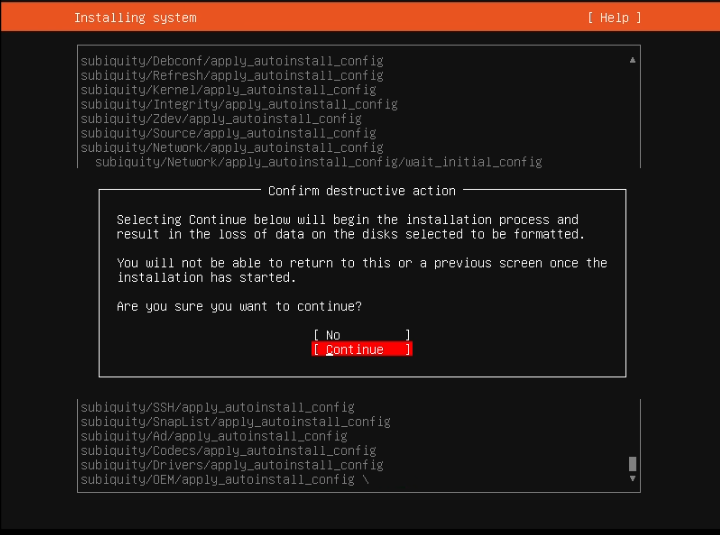
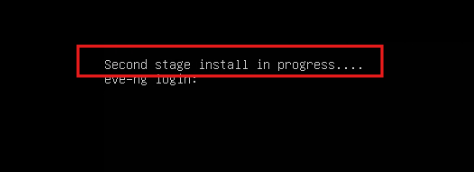
V.
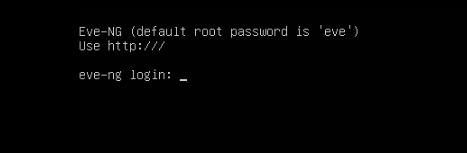
During installation process you will reach a point where it looks like a login. Its not, give it time. It'll restart and only after the EVE NG splash screen you'll be able to login normally.
VI.
Login with the default credentials:
root / eve


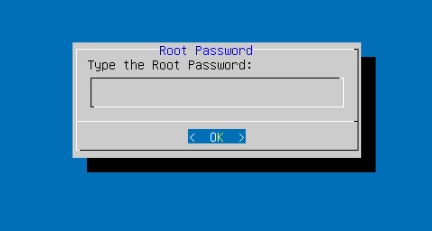
VII.
After first login you will be forced to change the password.
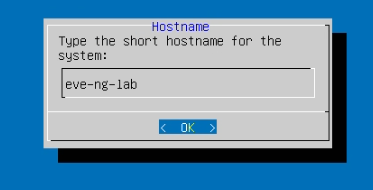
VIII.
Set a hostname for your device


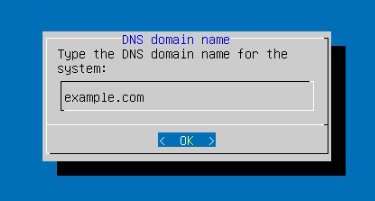
IX.
Specify the domain name. If you have no idea what this is, you can leave it as it is.
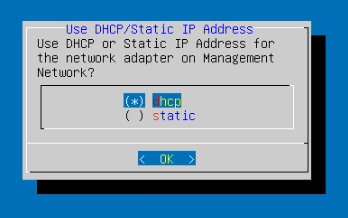
X.
Select if static IP or DHCP.
Use the arrow keys to navigate, hit the spacebar to select and then use Enter to continue.
I will use DHCP and once I get the IP I'll reserve it on my router


XI.
After configuring network, you can leave the next few options as default; anything else would be a specific case and out of the scope of this guide.
Once back on the login screen, update the system with the following command and finish with a reboot (not mandatory, but I like doing it)
apt update && apt upgrade -y
FINALLY
Ensure the host can ping EVE NG and vice versa. This confirms there are no communication problems.
Step 4: Loading up EVE NG
Where's all the stuff?
It might be tempting to go into the lab environment and look around, but you'll be very disappointed when you find that you'll basically have nothing except for a VPCS computer, which is nothing more than a simple computer with (very) limited capabilities used for testing purposes.
But how do we get our KVM images into our virtual EVE NG instance? Simple: SCP command. You're most likely gonna be dwelling in the terminal anyway, so it's best you learn how this command works and actually use it.
To load KVM images into EVE NG you need to be aware of the following details:
Location of the VM image file
I like to save images in the same directory where I store the EVE NG installer file.
Location of where to put the image file within EVE NG
This varies depending on the image to run. For this example I'll be using a FortiGate KVM image. For more details about where and how to store images refer to the official documentation:
Naming convention for the file within EVE NG
There is a specific naming scheme for images to be detected by EVE NG. Again, I'll be using a FortiGate image, so it will change for whatever you're going to use. For more details about image naming, refer to the official documentation:
https://www.eve-ng.net/index.php/documentation/qemu-image-namings/
So to clarify, if like me you're using a Fortinet image the naming scheme within the EVE NG server is going to be: fortinet-<whatever_name_you_want>
Note on the naming convention: The fortinet- bit is mandatory so EVE NG can detect the image is a Fortinet device. Whatever comes after that is for you, the human, to identify what's inside. I like to write down the product and the version.
In this guide I will be using a FortiGate ver. 7.6 KVM, so the name to use is:
fortinet-FG-v7.6
scp C:\path\to\KVM\image\file root@eveng-hostname:/opt/unetlab/addons/qemu/fortinet-FG-v7.6/
With all that out of the way, lets get our hands dirty!
Keep in mind I'm on a Windows computer and I will be using a Fortinet device. Refer to the linked documentation if using another vendor.
mkdir /opt/unetlab/addons/qemu/fortinet-FG-v7.6
cd /opt/unetlab/addons/qemu/fortinet-FG-v7.6
I.
First of all, log into EVE NG. Create the directory that will house the KVM image and go into that directory:
II.
Upload the downloaded zip file into EVE NG using SCP.
Note that you can also use tools such as WinSCP, FileZilla, etc. but for this guide I will use SCP command.
SCP syntax is:
III.
The downloaded KVM image file is a .zip file, so we simply use the unzip command to extract the files.
Of course, the below command is an example.
unzip FGT_KVM_IMAGE_FILE.out.kvm.zip
IV.
The extracted file will be named something like fortios.qcow2 and we need to rename it to a name that EVE NG recognizes.
mv fortios.qcow2 virtioa.qcow2
V.
You can now delete the zip file
rm FGT_KVM_IMAGE_FILE.out.kvm.zip
VI.
Final step is to fix permissions
/opt/unetlab/wrappers/unl_wrapper -a fixpermissions
Step 5: First lab
The real start to a long journey
Finally! The time has come... Lets not waste any time and get to labbing.
This lab is only to show you the barebones basics. We will begin with connecting 1 computer to an ISP and gain the ability to ping devices.
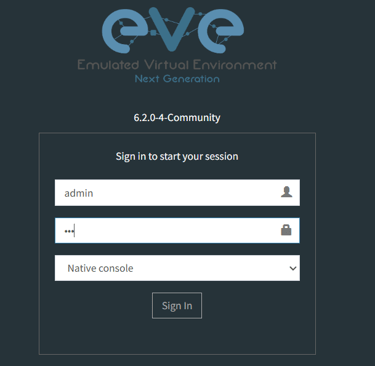
If you take a look on your EVE NG screen, you'll notice it kindly shows you what IP to type in your browser to access the GUI
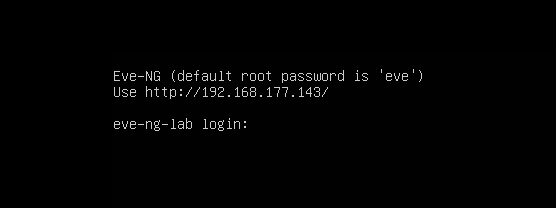

Login with the default credentials:
admin / eve

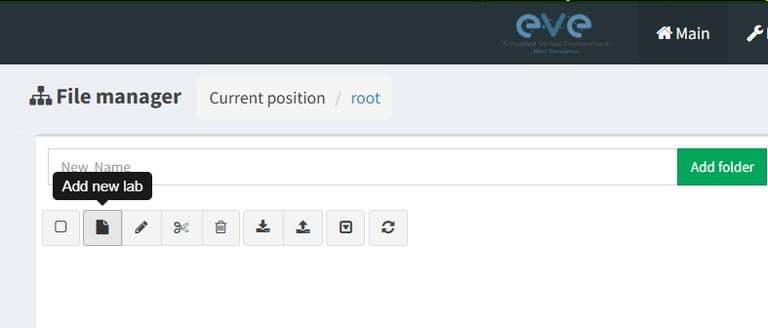
I.
Once in, click the Create New Lab button.
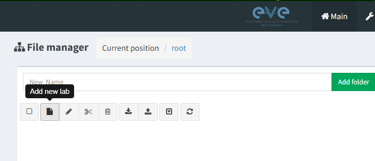

II.
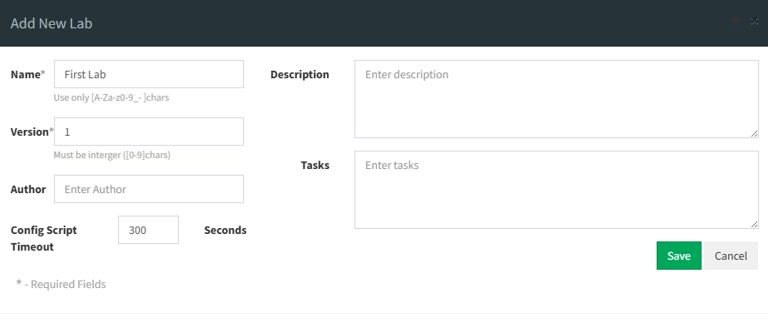
Give it a name and fill in the details. Or don't. It's your lab, do as you like (a name is required though).
III.
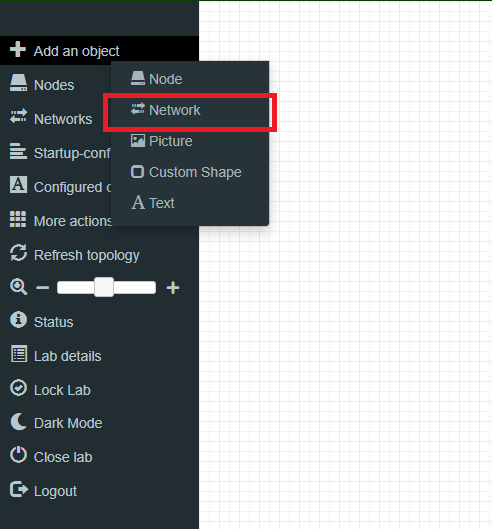
On the left side of the screen you will have your toolbox. Click on "Add an object" and click Network.
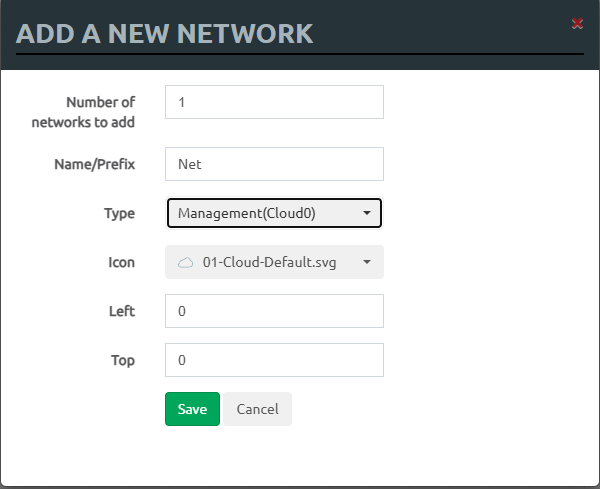
IV.
On the next screen you can set the details for the node selection.
In our case: 1 node to act as an ISP and Type Management(Cloud0) so it can act as our primary lab router
V.
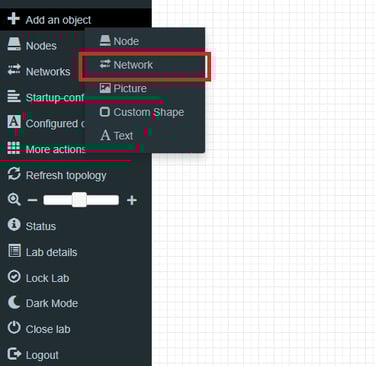
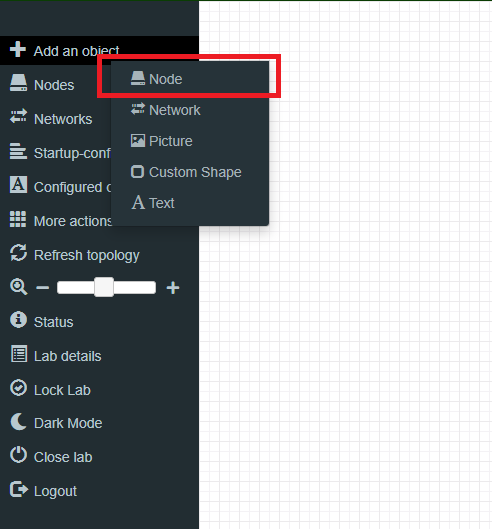
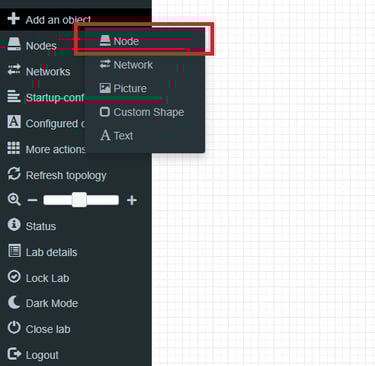
Now go back to Add an Object and this time select Node
VI.
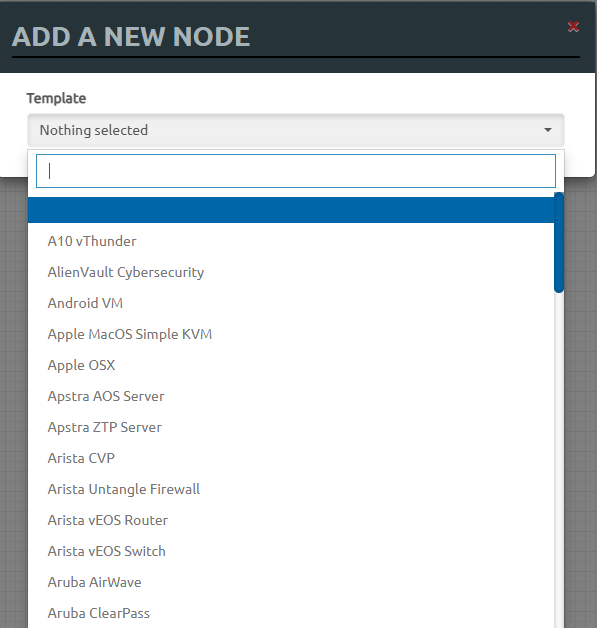
This is where the added KVM images will appear.
VII.
Search for VPCS. This basic computer will test our connectivity to the internet.
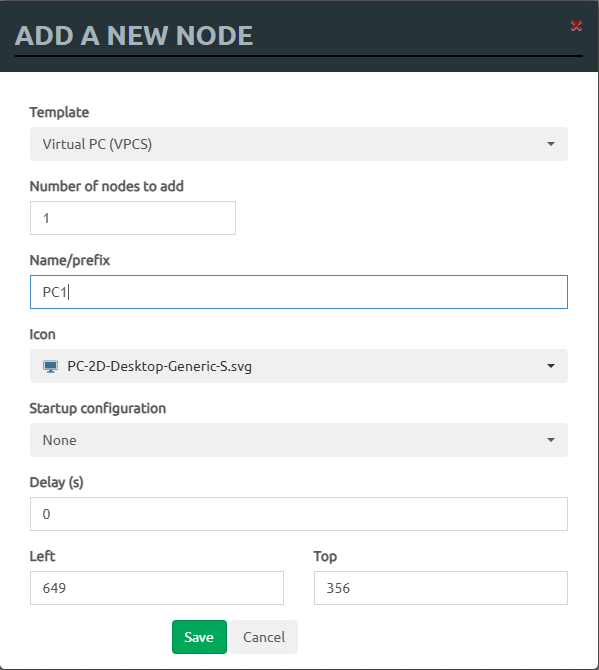

VIII.
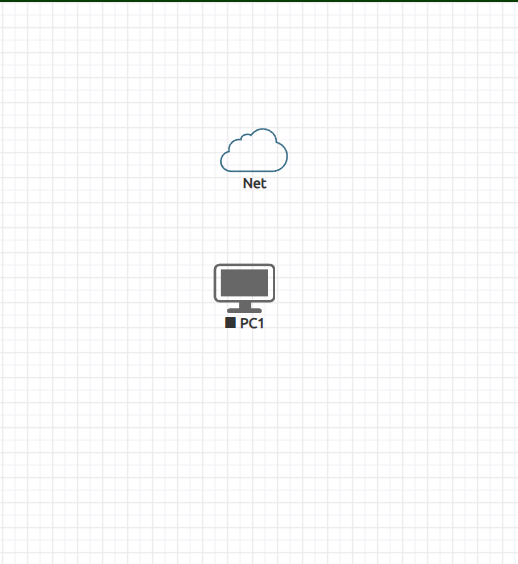
Line things up as you see fit.
IX.
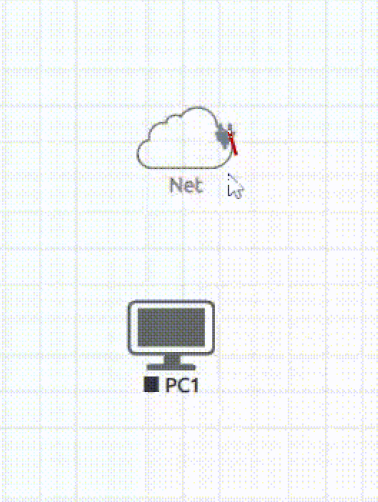
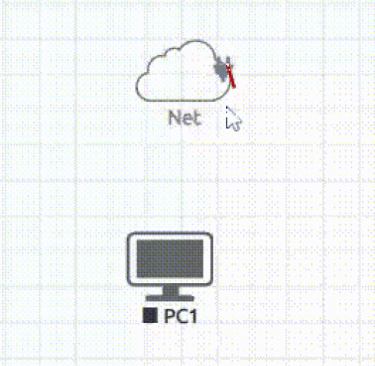
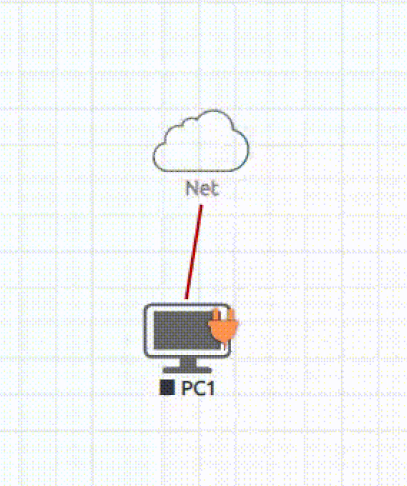
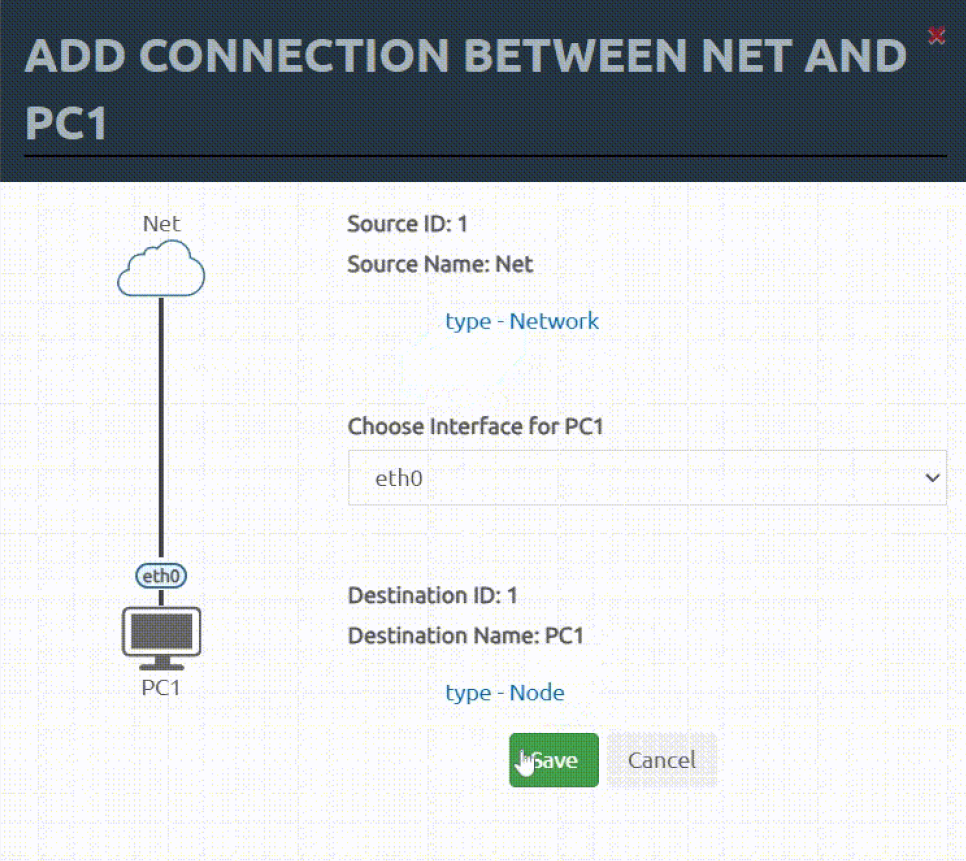
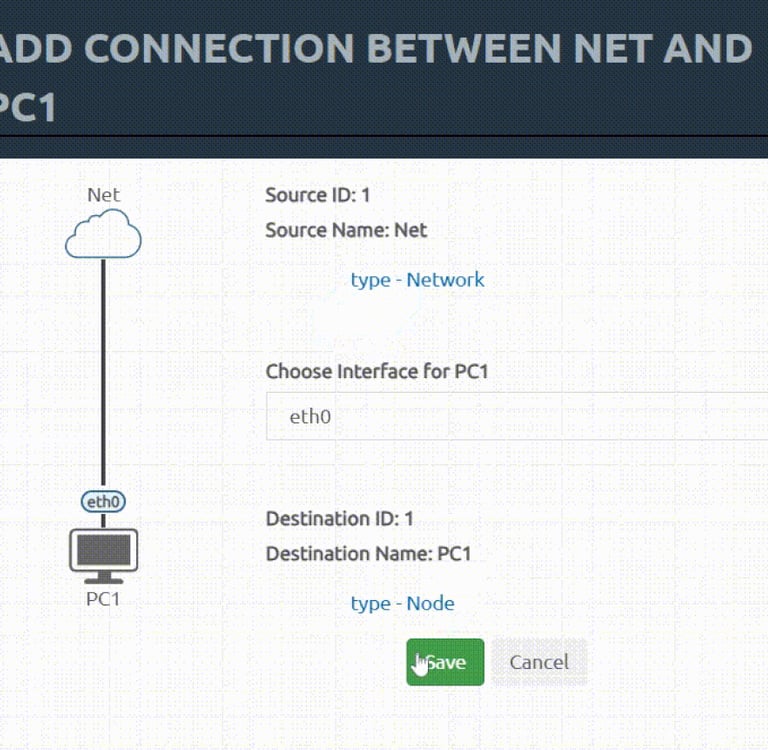
Now, hover right on the Net node and press & hold the plug icon. Drag it towards the VPCS and release it on the newly appeared plug icon.
Confirm the connection interface is correct and select Save.

X.
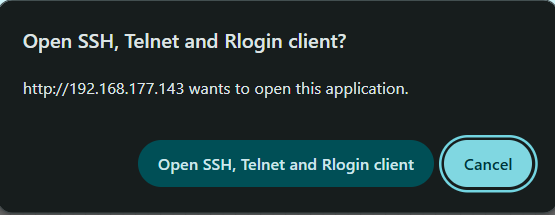
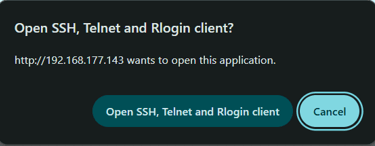
Finally, click on the VPCS computer and hit Start.
You should get a prompt similar to the one in the image. Accept and you will automatically connect to the VPCS terminal
XI.
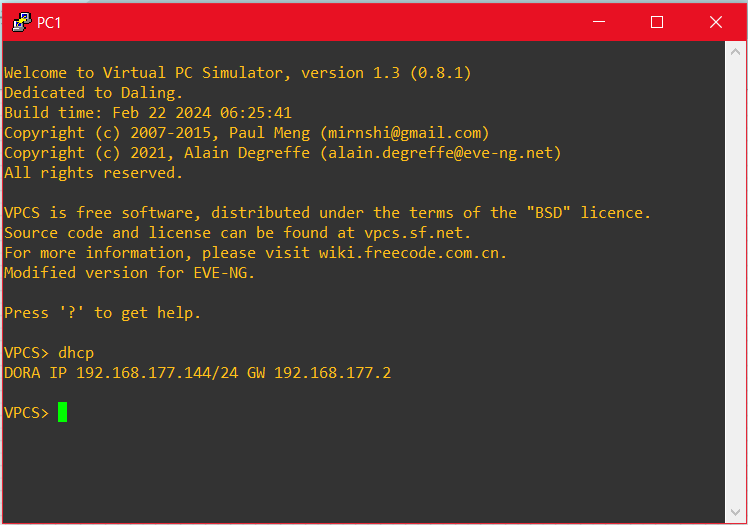
To finish off, type in the command
dhcp
When the command finishes loading, you should have an IP assigned to the VPCS. Test it out by doing ping to 8.8.8.8 or your host computer.

Step 6: Conclusion
Done... are you though?
You've officially installed EVE NG into a computer (or hypervisor) and built your first lab. Now I know that you are either bubbling with ideas for future labs or... you're blank; not a single idea on what to do with this tool. If that's the case, don't worry, it sometimes happens when faced with a blank canvas.
Take a moment to think about this: Messing around in your own network can get messy and could result in accidental disconnection. Not ideal. With EVE NG you could create a custom Ubuntu image, upload it in a similar fashion to how we did with the Fortinet image (follow the linked documentation for your specific image) and deploy it in EVE NG to make the lab be even closer to a real life scenario. Deploy a vulnerable box and test out your pentesting skills. Or maybe try to recreate a legitimate network and try to get it working from scratch.
Hopefully this is the beginning of a lifelong journey into networking. I really hope that these tools help you build your confidence in the field, regardless if you're studying for a CCNA, building a network diagram, simulating scenarios or whatever your purpose.